Register Application with Microsoft Azure AD & Enabling API Access

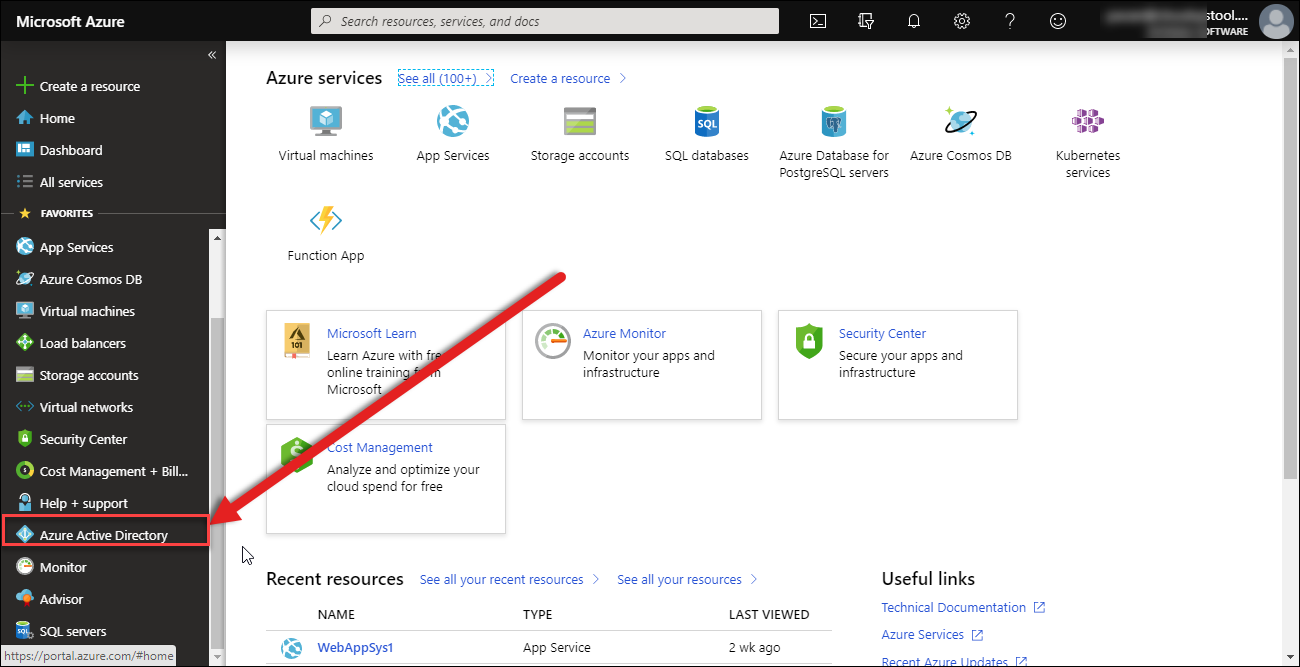
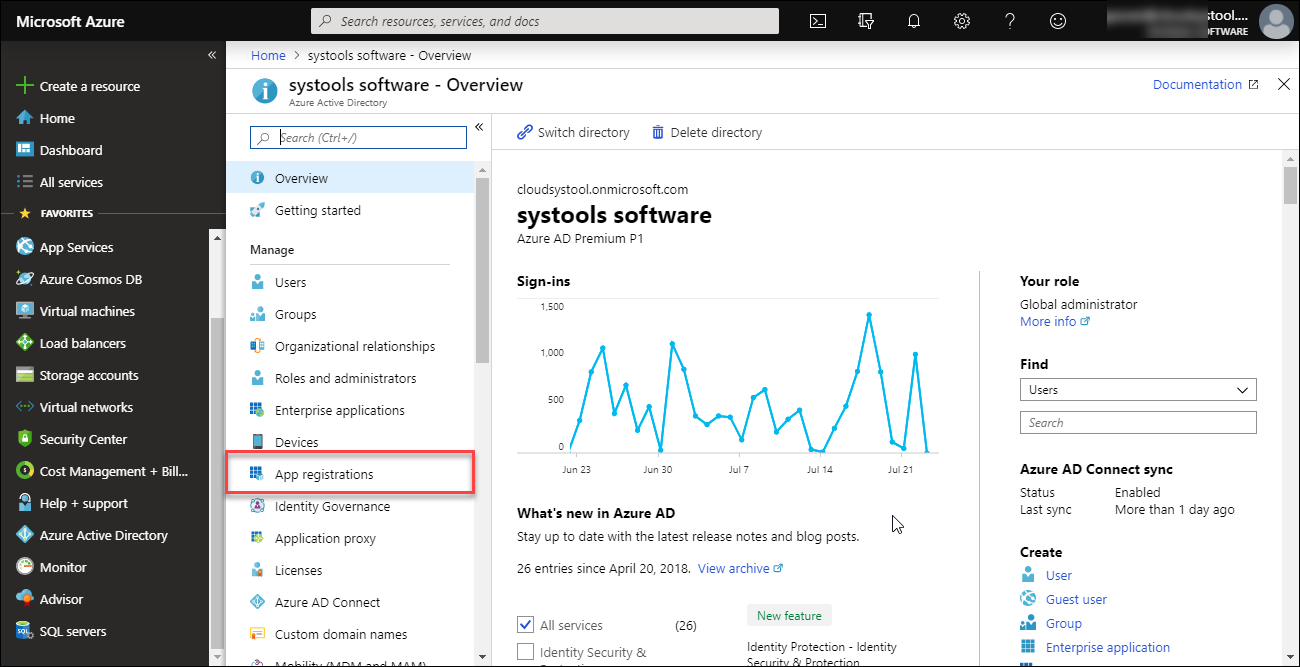
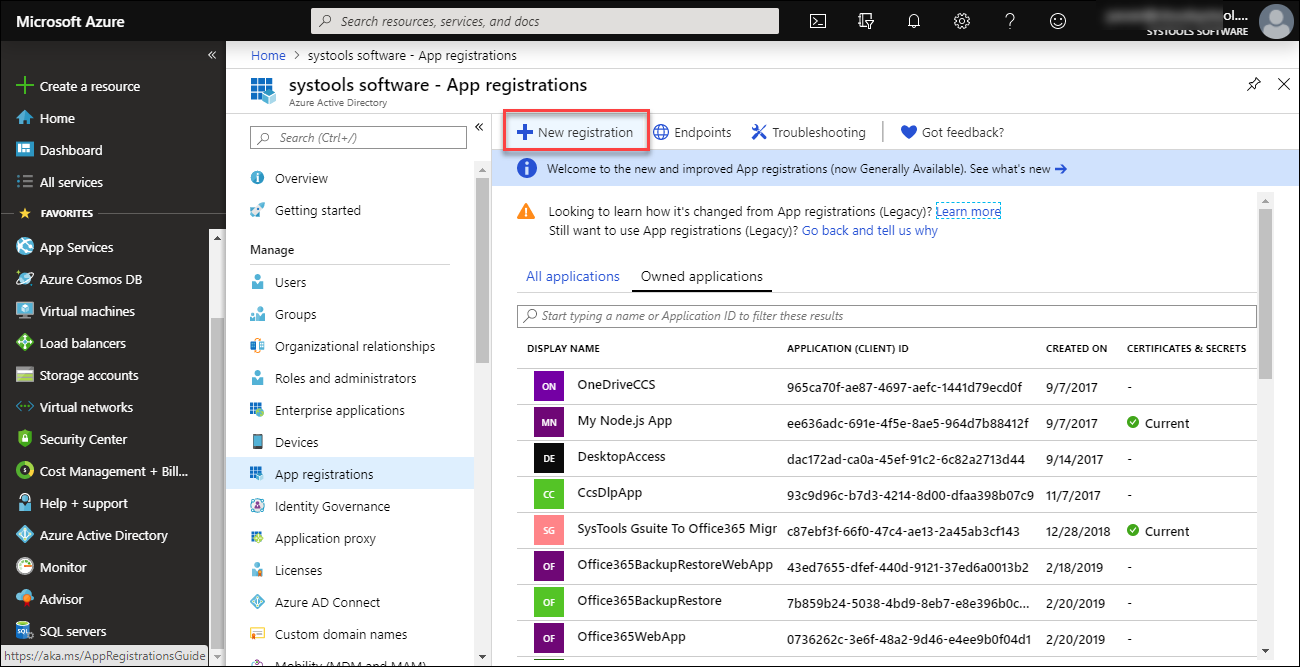
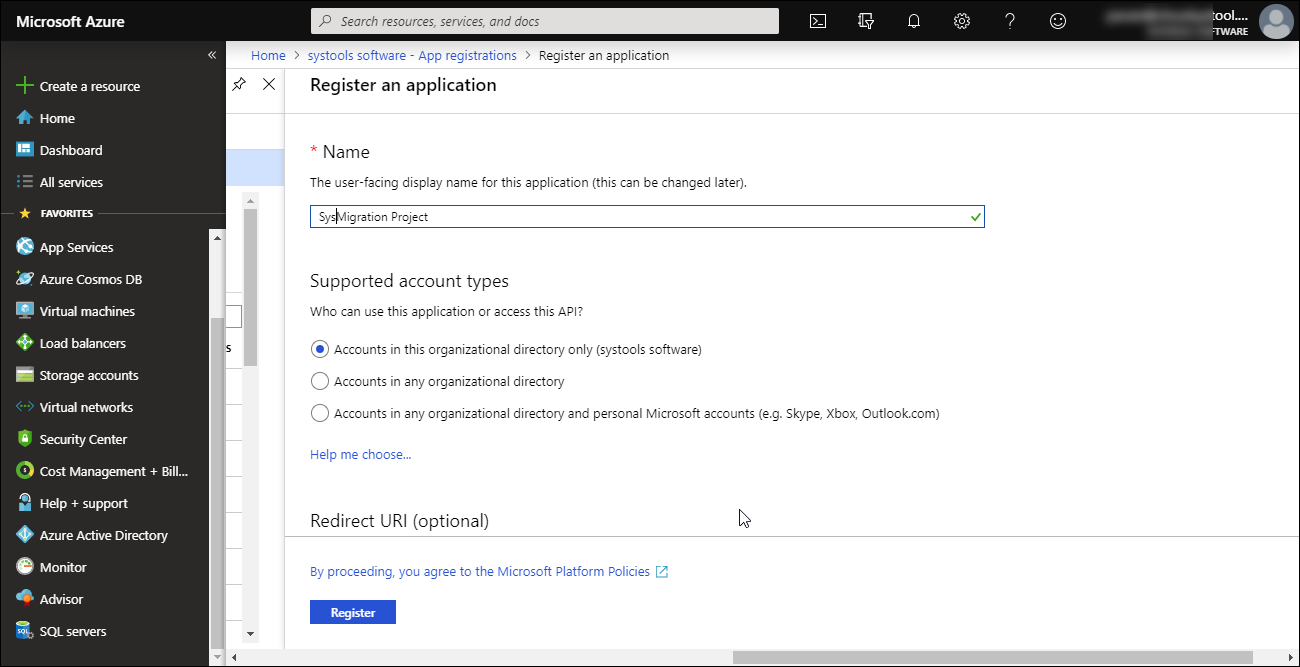
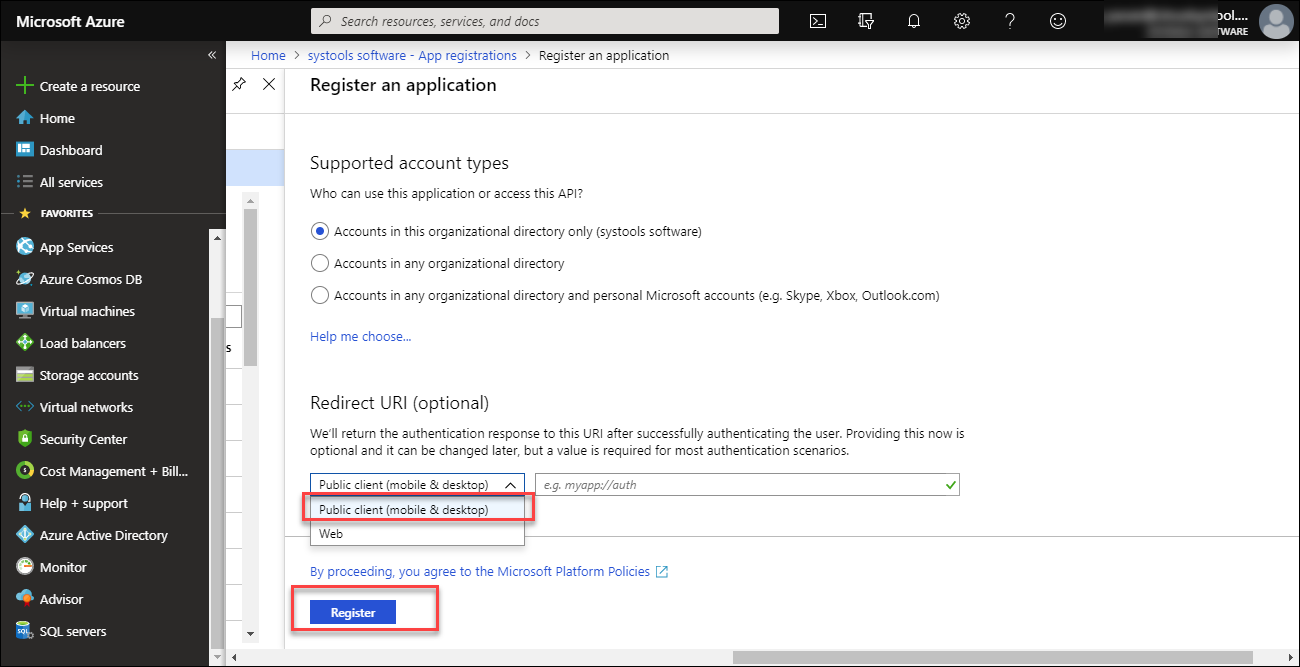
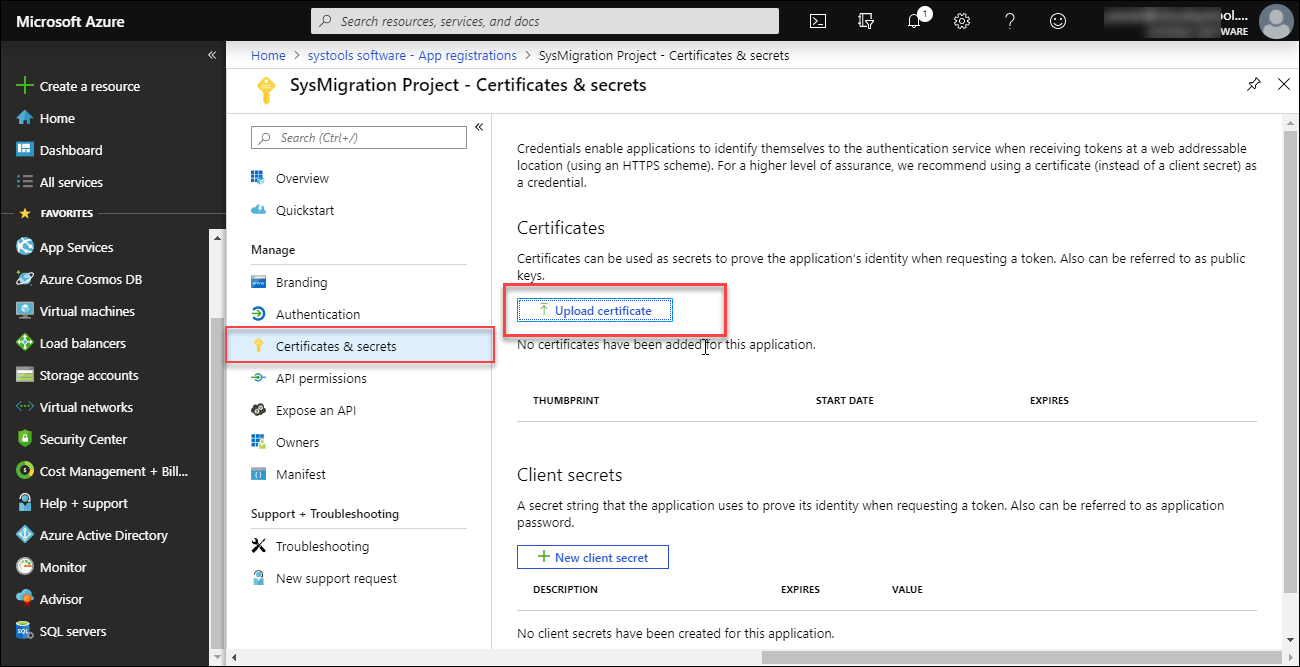
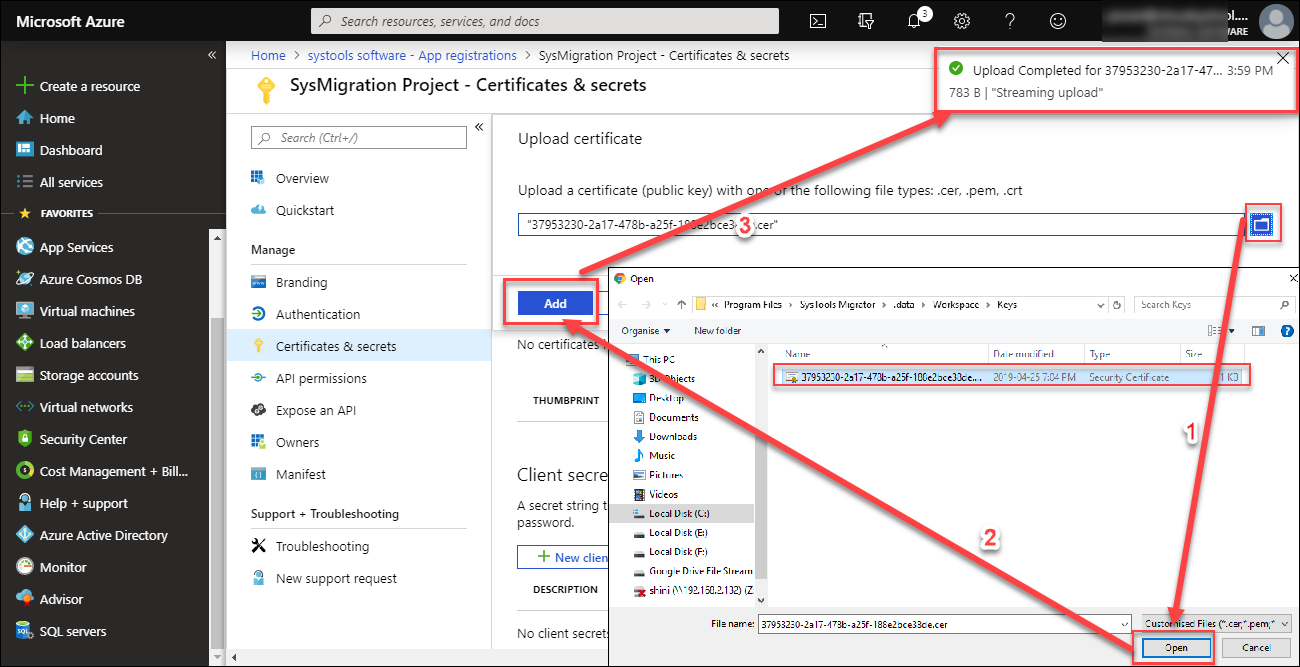
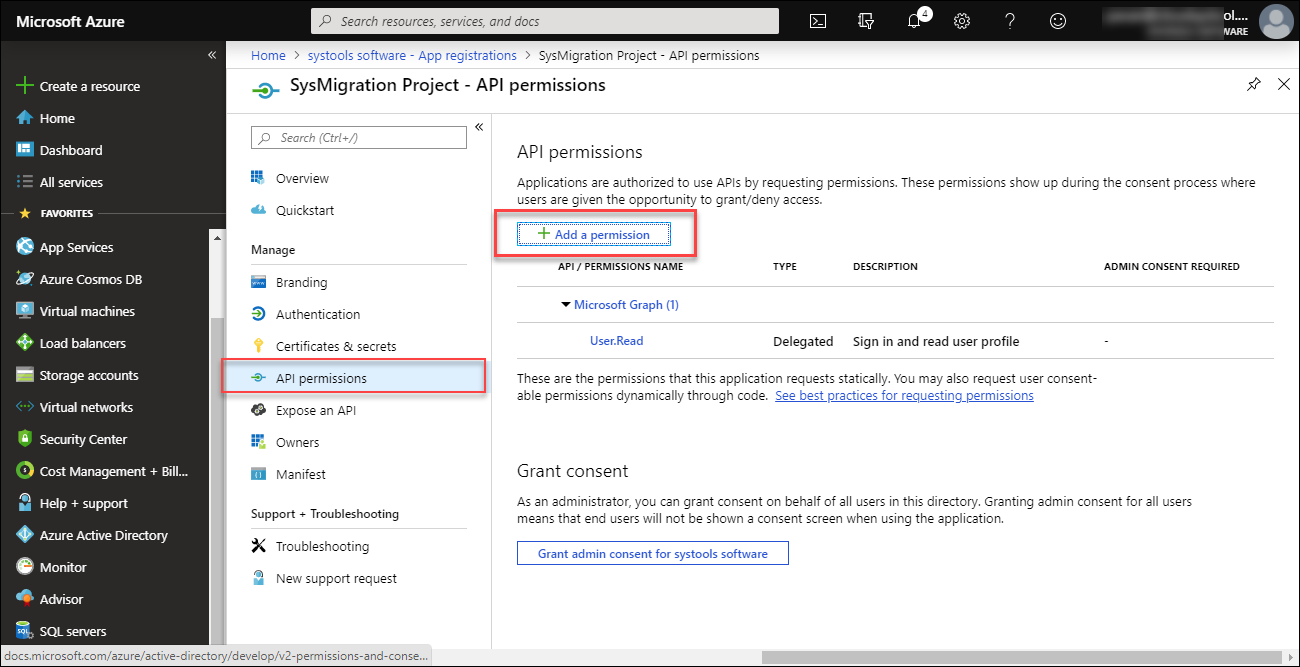
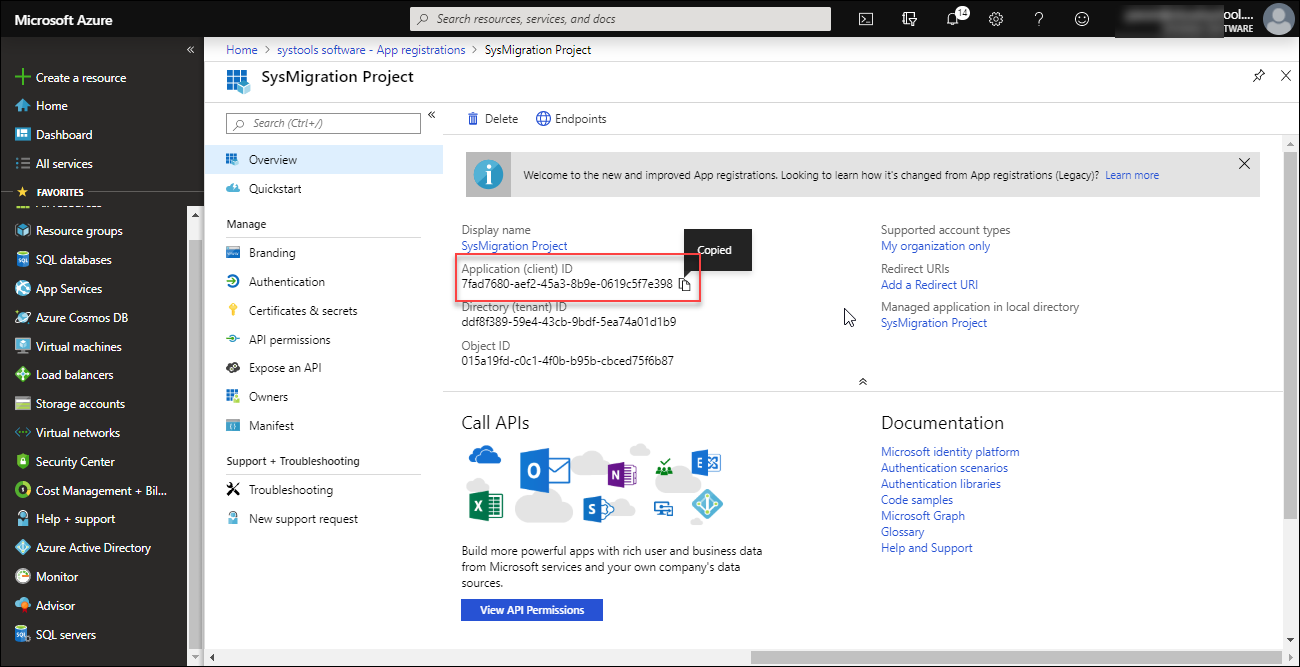
Follow the steps to register an App with Azure Active Directory & Enable API access in Microsoft Console

STEP 1

Go to the Microsoft Azure Portal & Sign In with Admin Account

Azure AD login


Microsoft sign in


STEP 2

Select the Portal option from the menu bar.

Azure AD portal


STEP 3

Go to the Azure Active Directory option in the left hand side.

Azure Active Directory
STEP 4

Select the App Registration from the Manage section.

Create Credentials
STEP 5

To register an application with Azure AD select the New Registration option.

Service account key
STEP 6

Insert the required information such as “Display name, Account type, Redirect URI” and click on the Register button.

New service account

New service account
STEP 7

Go to the Certificates & Secrets section to upload certificate key.

Owner option
STEP 8

Upload the certificate given by SysTools. You can find it from "Application installation path\SysTools Migrator\.data\workspace\keys". Then click on Add.

Key type

Note: If you have your own certificate then, you can use that one instead of this certificate as well.


STEP 9

Next step is to set API permission. Go to the API Permissions section and select Add Permission.

Download the P12 file
STEP 10

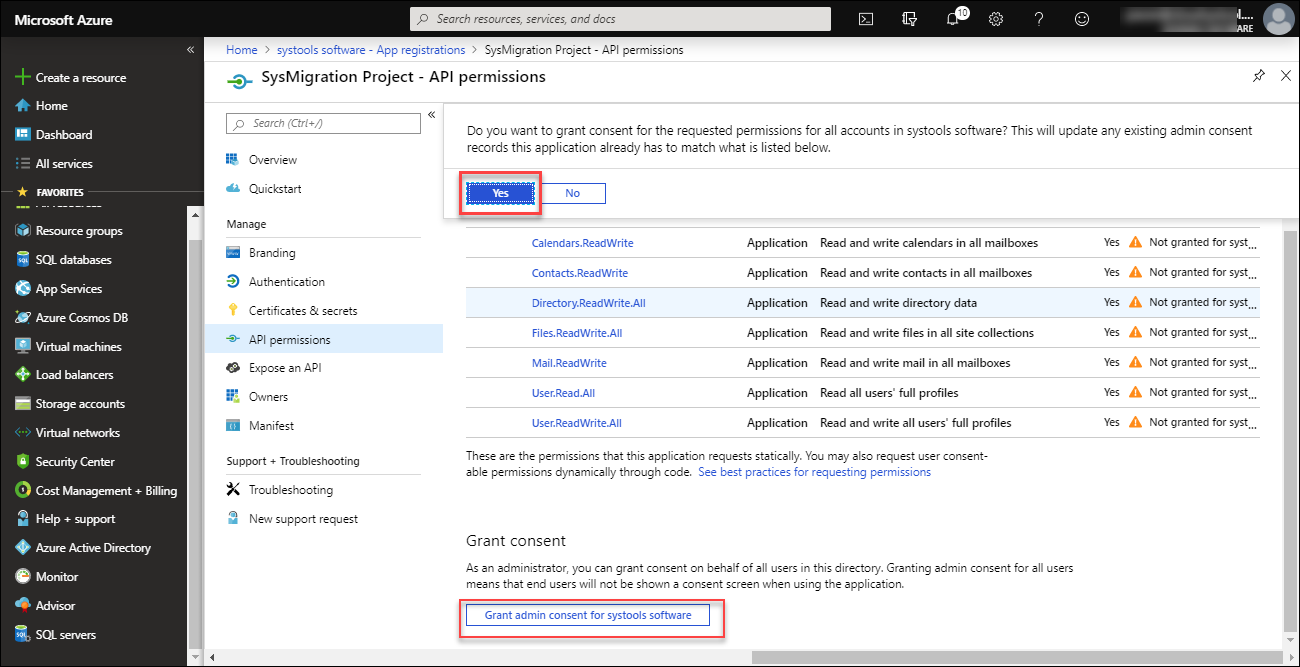
Grant the permission as per the application you are creating for. Select the Application permissions and choose the permissions.

Mange service account

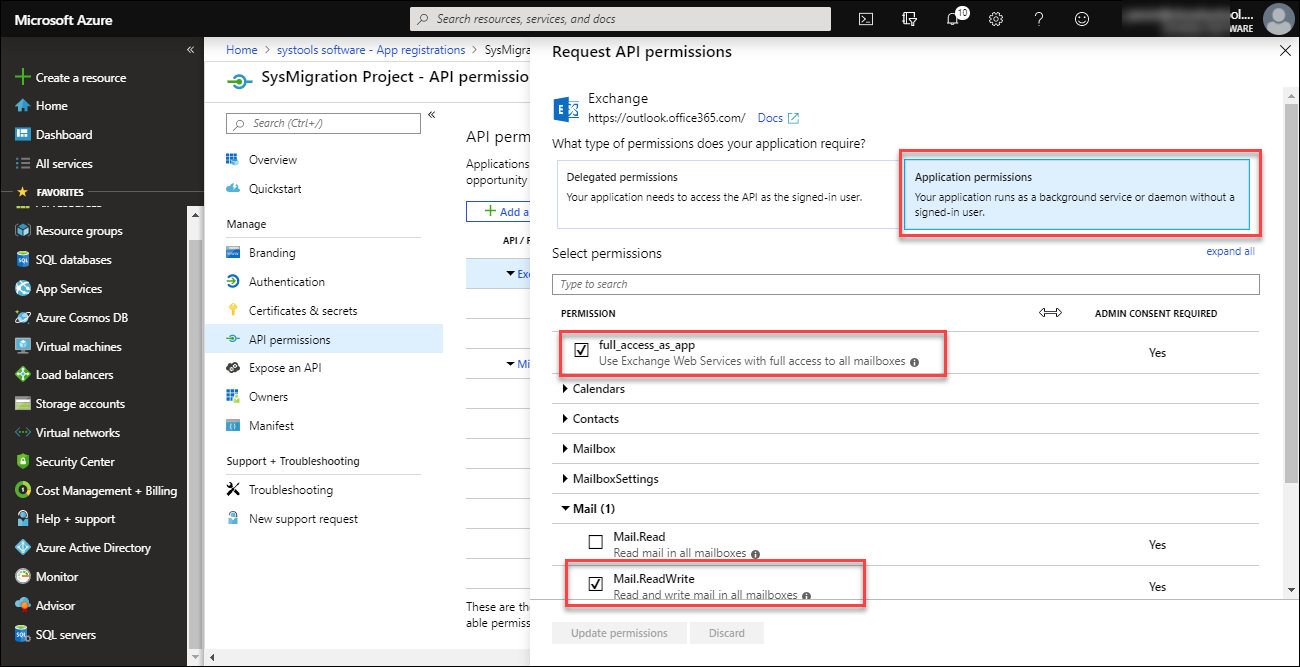
Note: The permissions for Source Tenant & Destination Tenant are different so grant them accordingly. Refer the table given below for enable Microsoft Graph API & Exchange API.


        Source Tenant                 Destination Tenant     
Exchange
Mail.ReadWrite Mail.ReadWrite
full_access_as_app full_access_as_app
Microsoft Graph
Calendars.Read Calendars.ReadWrite
Contacts.Read Contacts.ReadWrite
Directory.Read.All Directory.ReadWrite.All
Files.Read.All Files.ReadWrite.All
Mail.Read Mail.ReadWrite
User.Read.All User.ReadWrite.All

STEP 11

After selected the respective permissions click on Grant admin consent for systools software. Then click on Yes button from the pop up box to grant consent.

edit service account
STEP 12

After successfully provide the admin consent. Go to the Overview section and copy the Application client ID. User need to provide this ID as Service Account Client ID in the SysTools Migrator during the migration process.

Show Domain-Wide Delegation

Free Download G Suite to Office 365 Migration Tool Download Now